Removing the A4 Dashboard Cup Holder
on an Audi A4 1.8 L (B6 2003)
Sorry about the pictures. I need a new camera. The contrast and color balance are bad.
This wasn't fun and there's definitely a chance of breaking something.
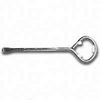
paint can opener
This is the back side of the trim piece. Two barbed prongs shown by
the arrows hold it in place. I removed it using a paint can opener (has
a hooked end and a ring for pulling). Bentley manual says to open the glove
box to pull on it using tool #3370. This substitute "tool" wouldn't fit
so I opened the beverage holder and carefully pulled from there until it
was out far enough to pull from the top edge. That's the easy part.
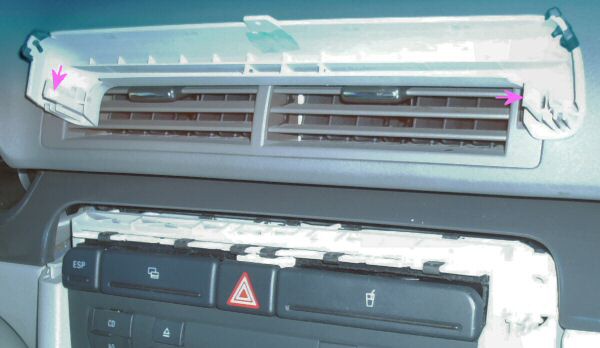

I used a pair of small screwdrivers in the holes below to depress the tabs on the cup holder. I taped a piece
of cardboard to protect the dash when prying. Radio should really
be removed first. I didn't remove it, but there is definitely a chance
of breaking something that way. The bottom will get caught on the radio
(see the second to last picture below).
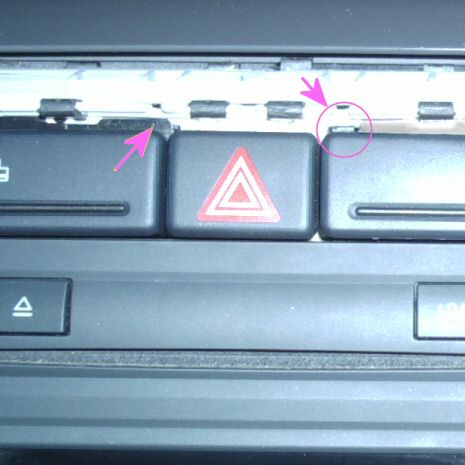
You are supposed to be able to use the radio removal tools (#T10057). You would apparently slide that in the slot (circled below) and above the tabs so that they don't catch when pulling out the unit, but the cup holder originally had a flange blocking access that looked like the one on the card holder (marked by the arrow on the left). I cut that away so that next time it would be easier to remove the cup holder.
One of two securing tabs on top shown. These are the tabs that have to be pressed down to remove the unit. I cut away the corner of the plastic flange (indicated by dotted line) that blocks access to the tab from the front. The bottom bit snags on the radio on both removal and installation.
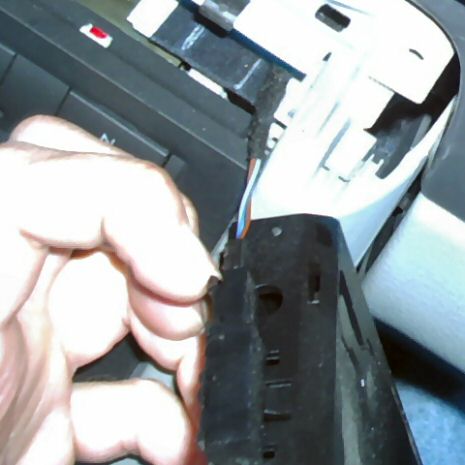
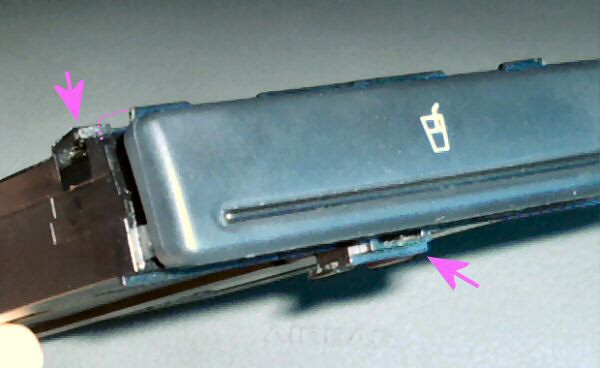
Pull with your fingernail as shown so that the connector for the icon light can be unplugged.